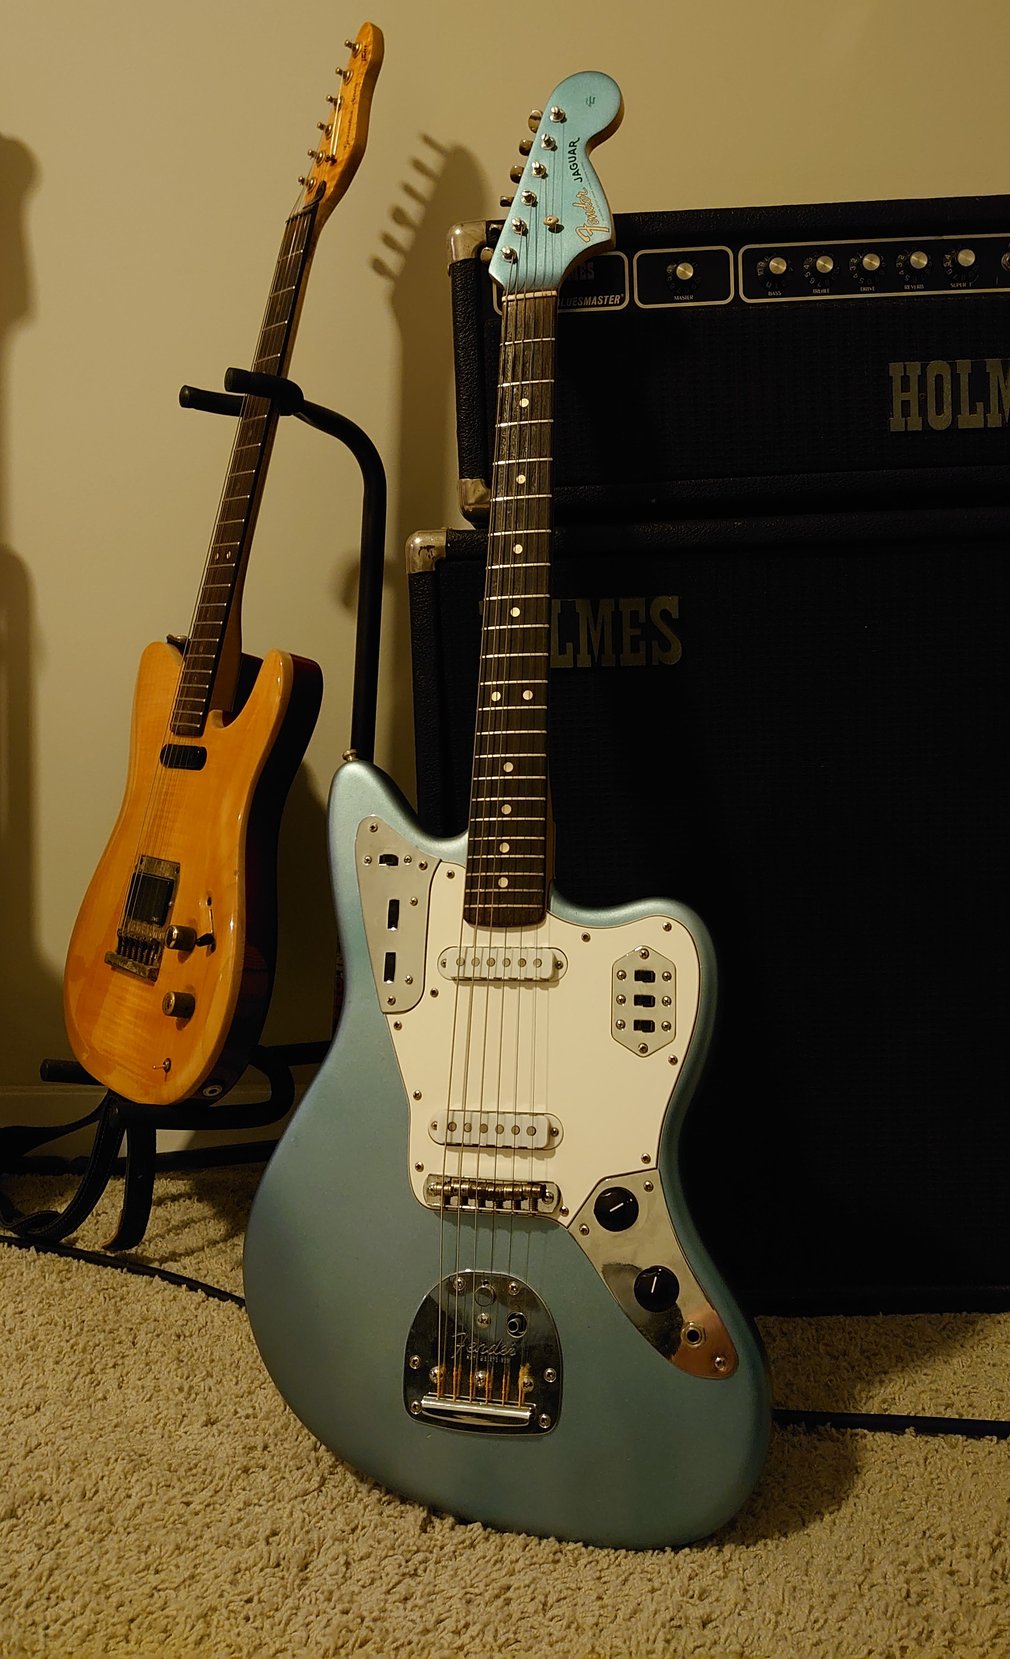
Fender Jaguar Guitar Build
#electrical #audio-music #hands-onIn 2014 I had been playing guitar for a couple years but had not found a guitar that really felt right to me. I became obsessed with the Fender Jaguar because I had seen some of my favorite players use one and I loved the way it sounded and looked. I decided to build one because I wanted to have an exact color and there weren’t any around me. The first part I ordered was a pair of knobs for the volume and tone control. A $10 pair of knobs is hardly the makings of a full guitar but getting them in the mail was enough to make the project feel real for me because I had set it in motion. From there I made money working construction during the summer and ordered more parts one by one - body, neck, pickups, pickguard, bridge & tailpiece, tuners, electronics.
Paint Work
The body and neck were both new and unfinished reproduction parts. They needed paint, and lacquer! I was a frequent browser of the OffsetGuitars forum, dedicated to offset guitar models like the Fender Jaguar and Jazzmaster. I would browse through pictures of old vintage guitars and knew all the different custom colors they were produced in. My favorite was Ice Blue Metallic. I had some paint mixed up at a auto body supply shop from the original Dupont paint code 4692L. The finish didn’t come out as well as a factory paint job - I wasn’t patient enough with the sanding because I wanted to get it done and play it (I’ve since refinished it with a more careful job).
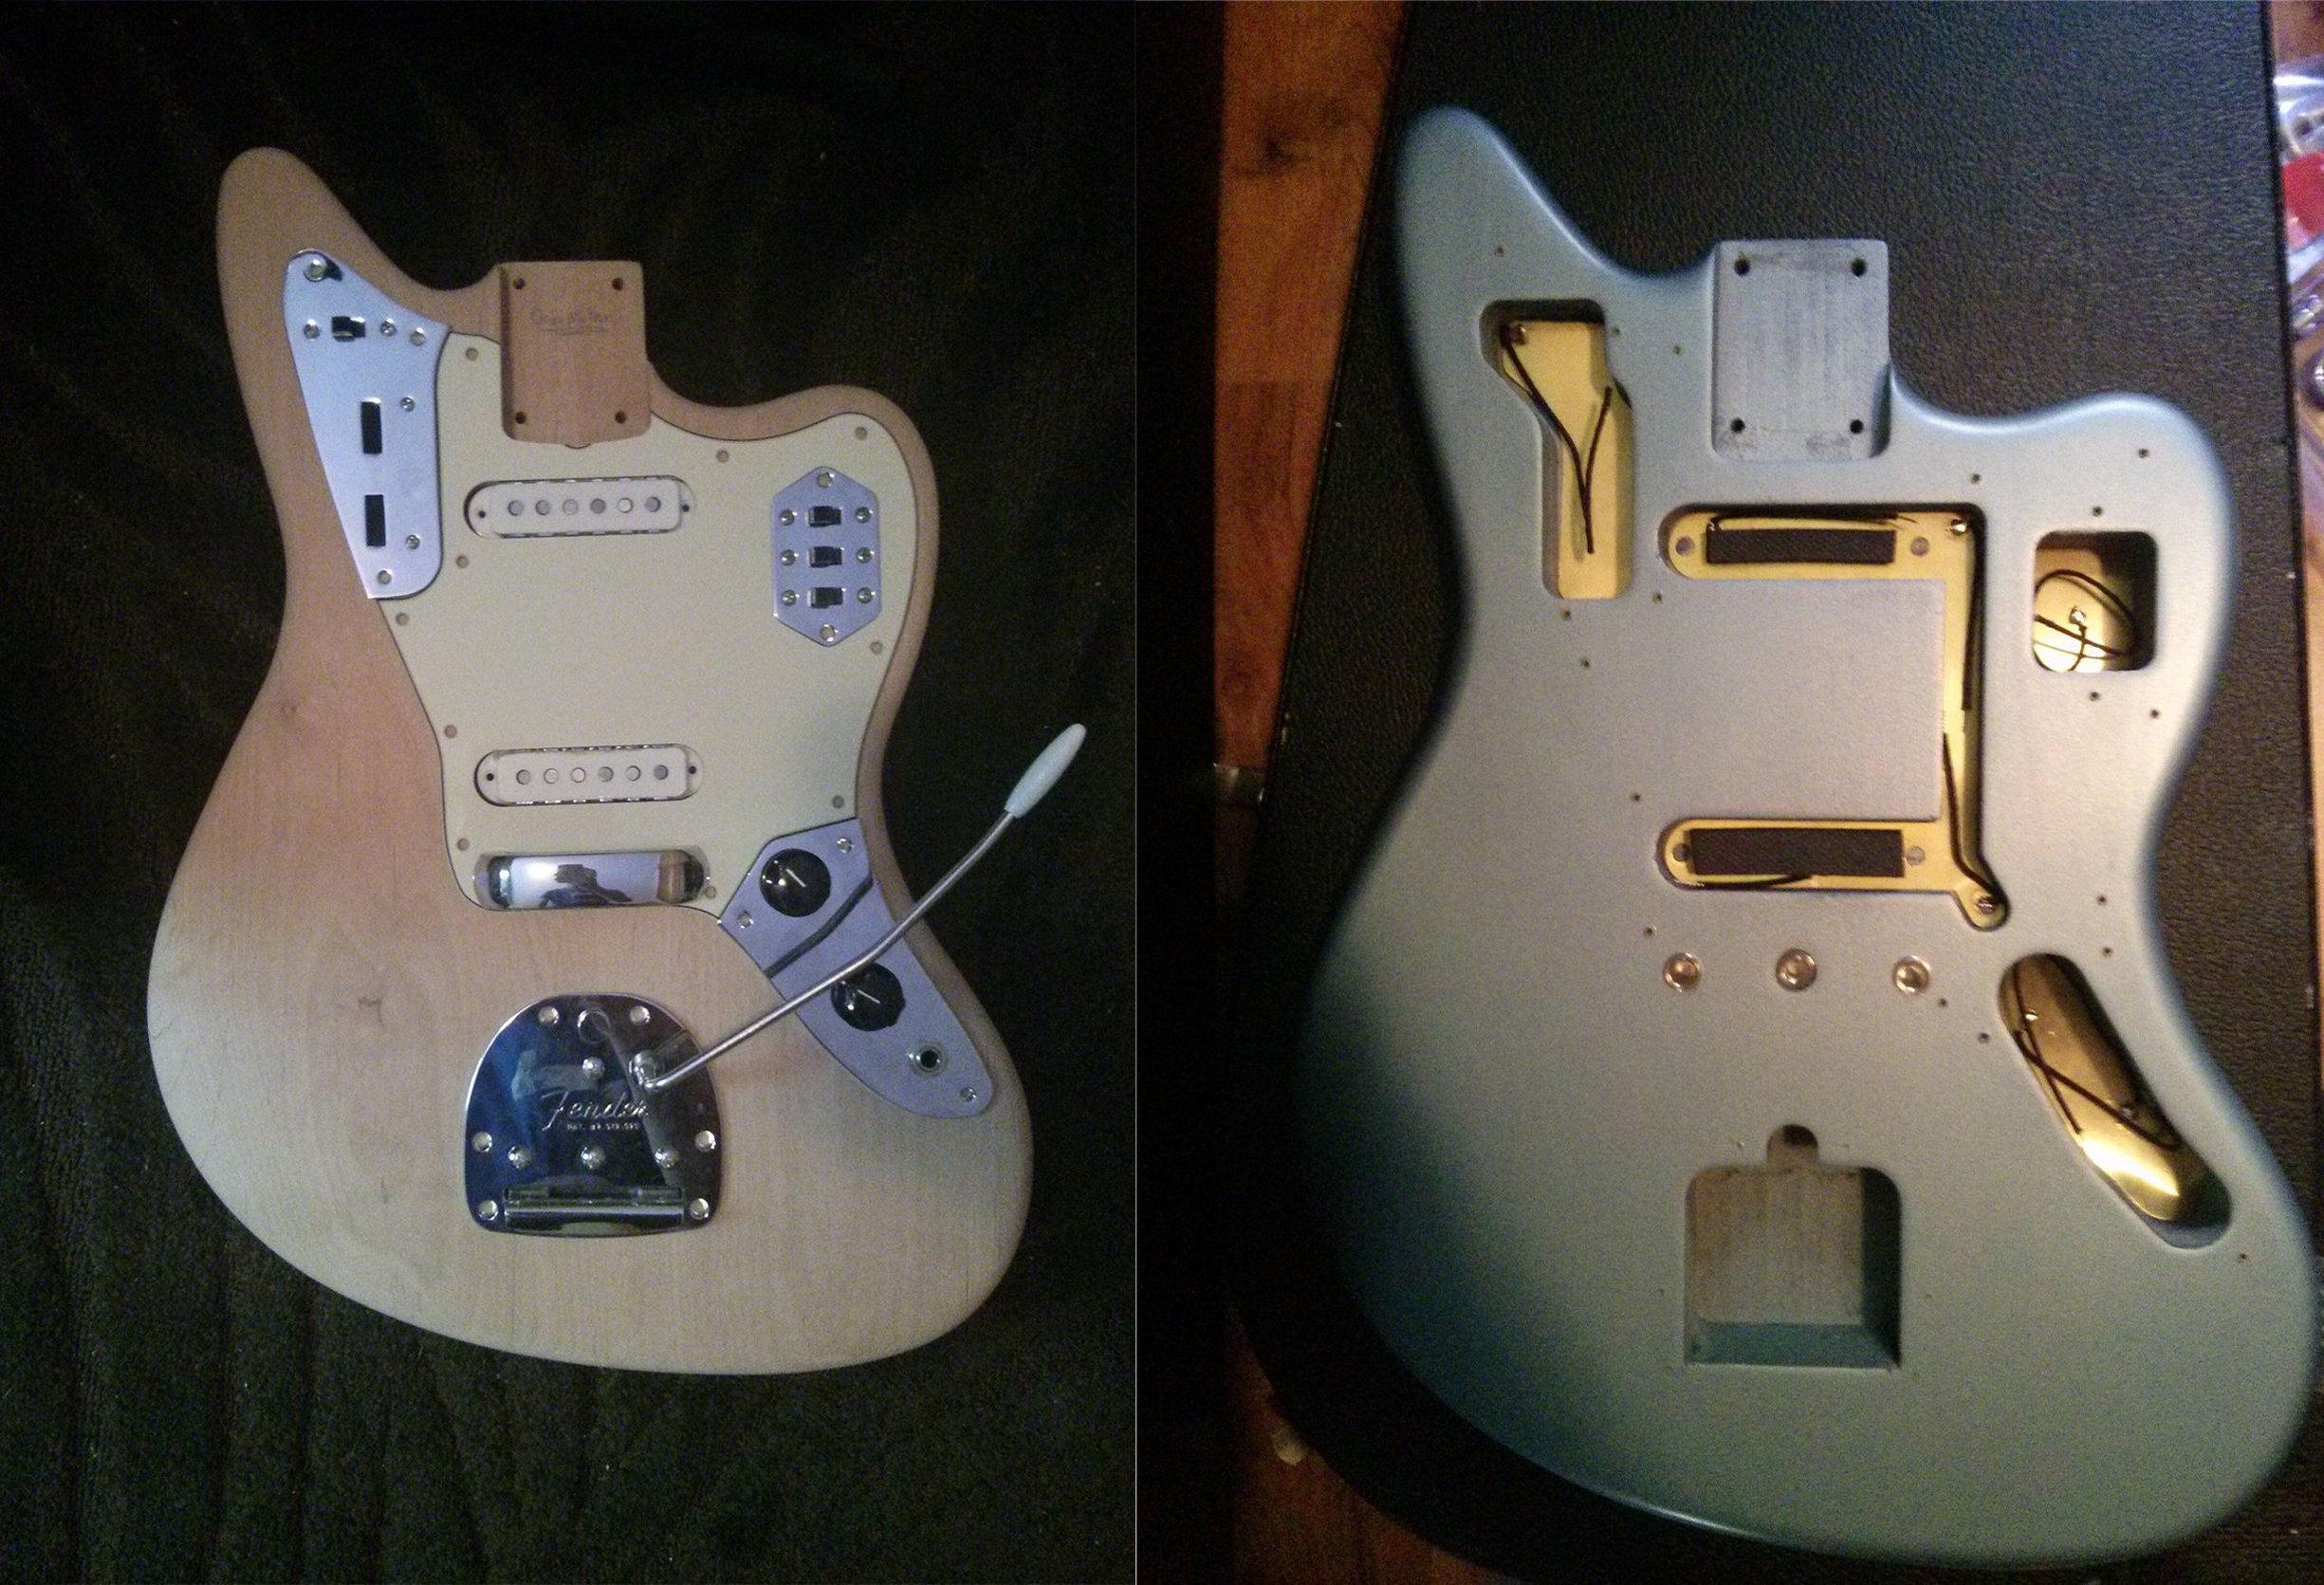 Mocking up parts on body and painted body with brass grounding plates
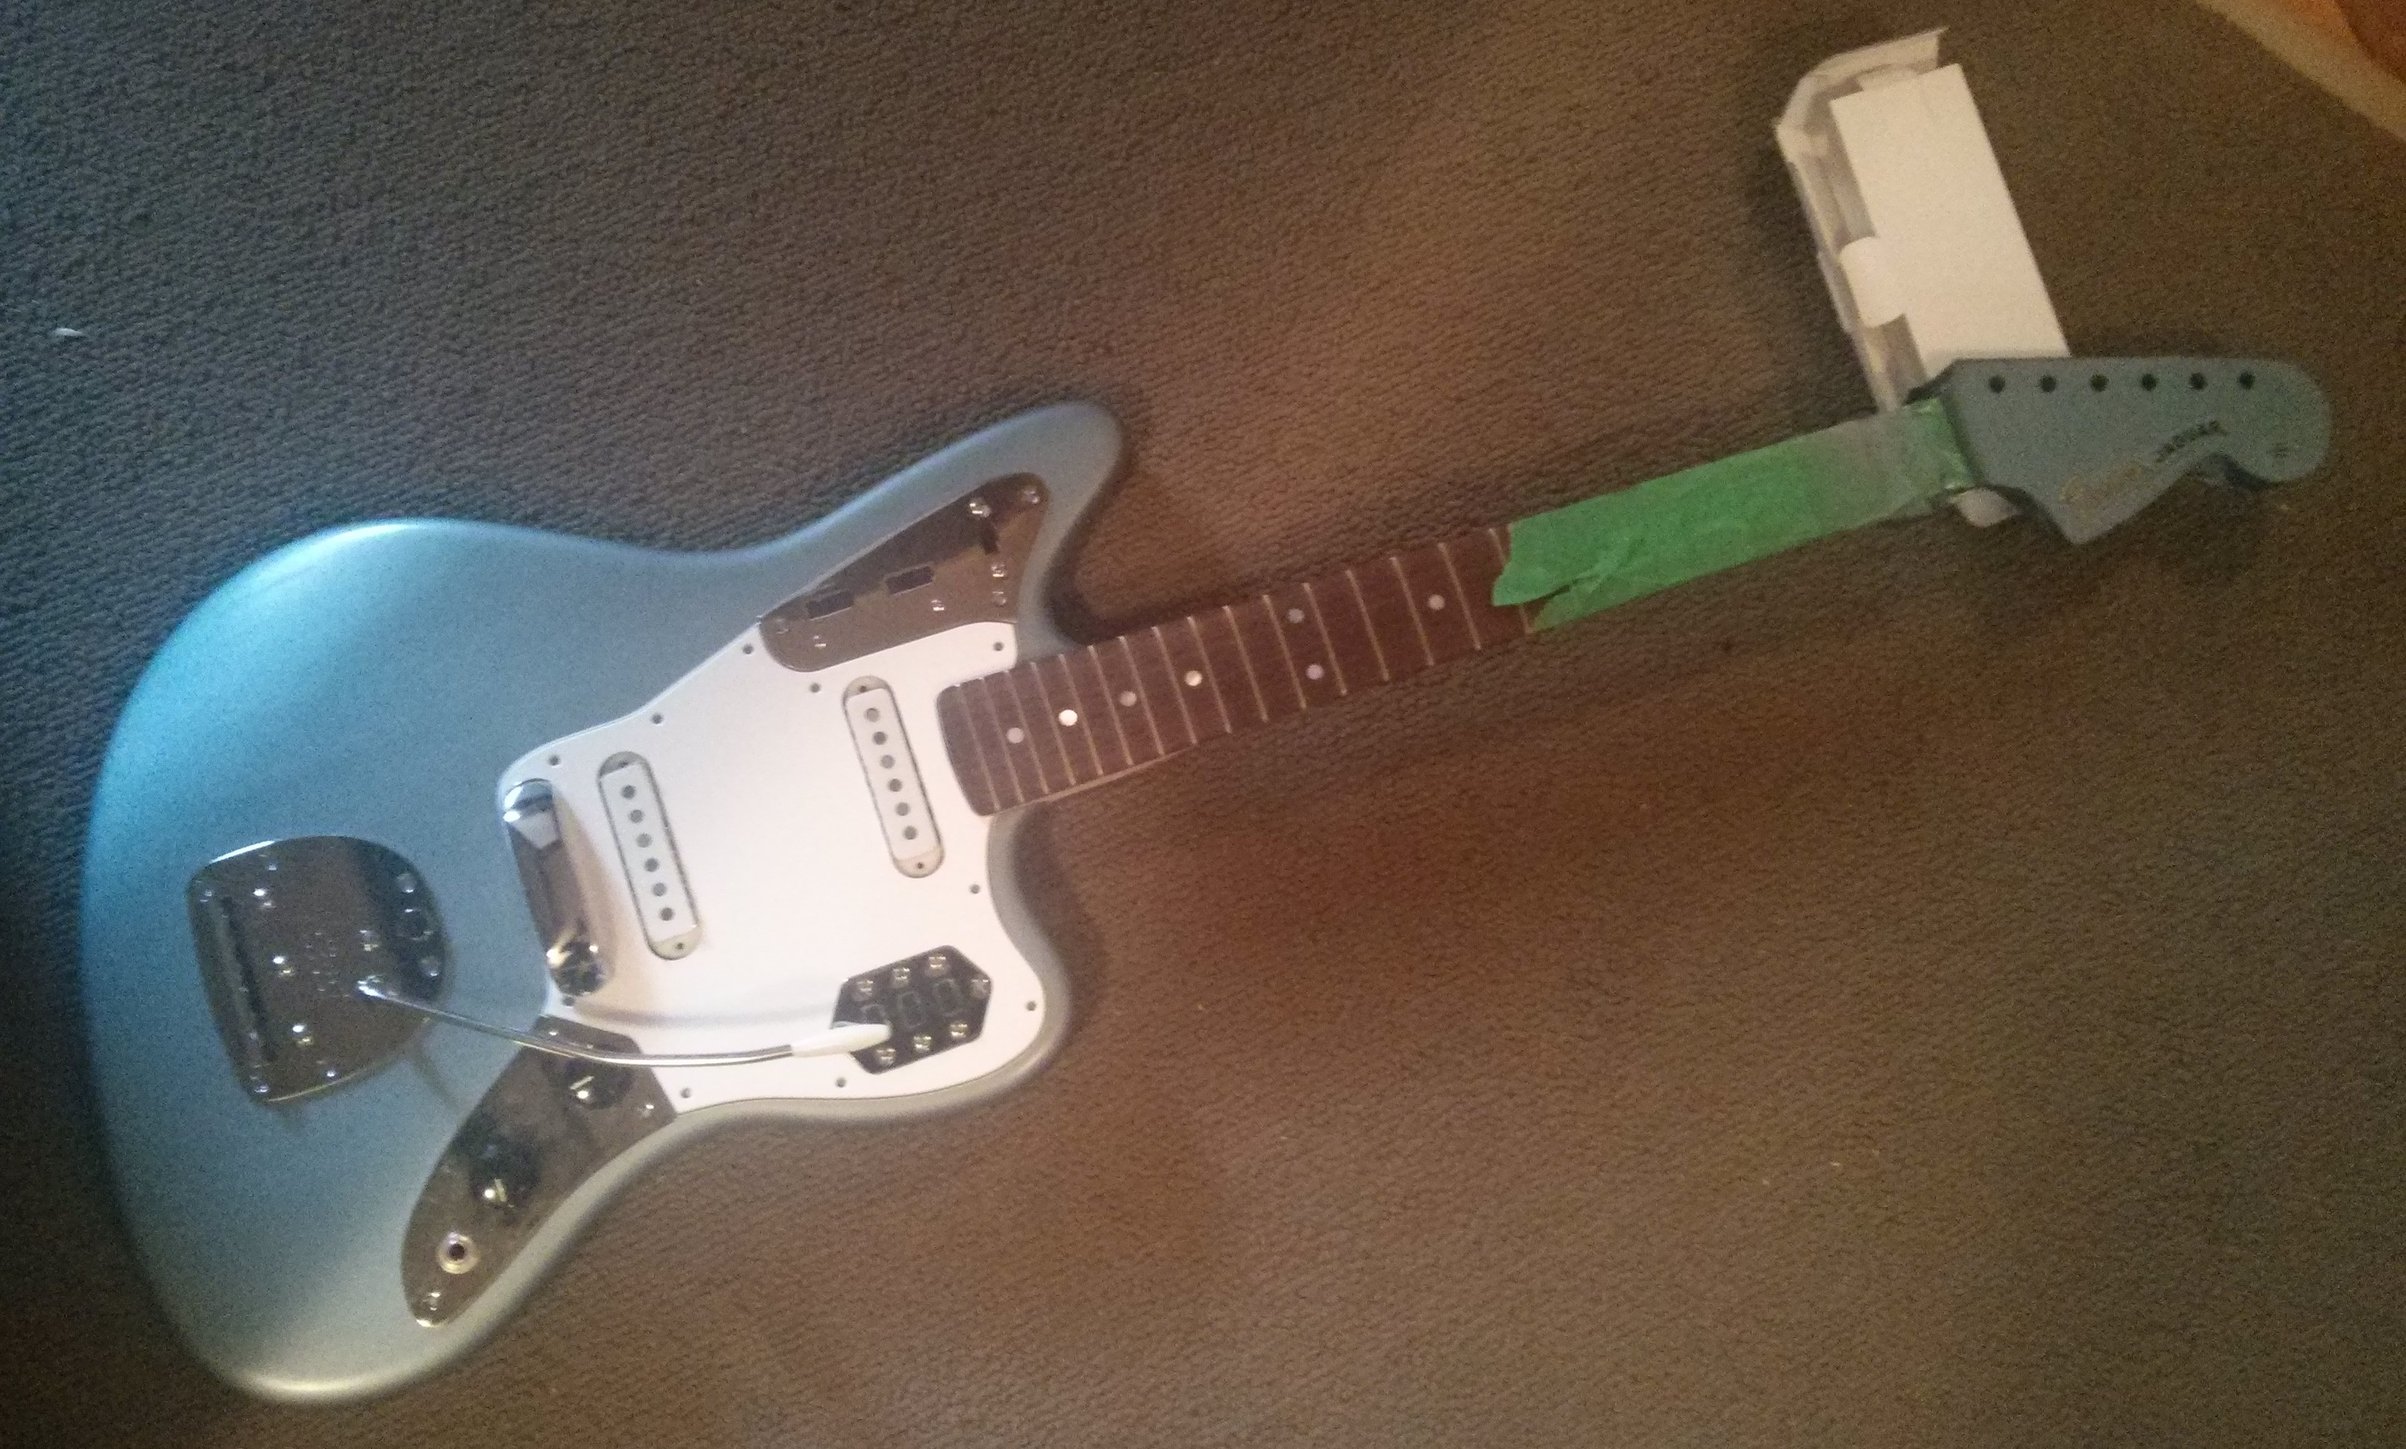 Applying decal after finishing headstock color coat
Wiring up Circuits
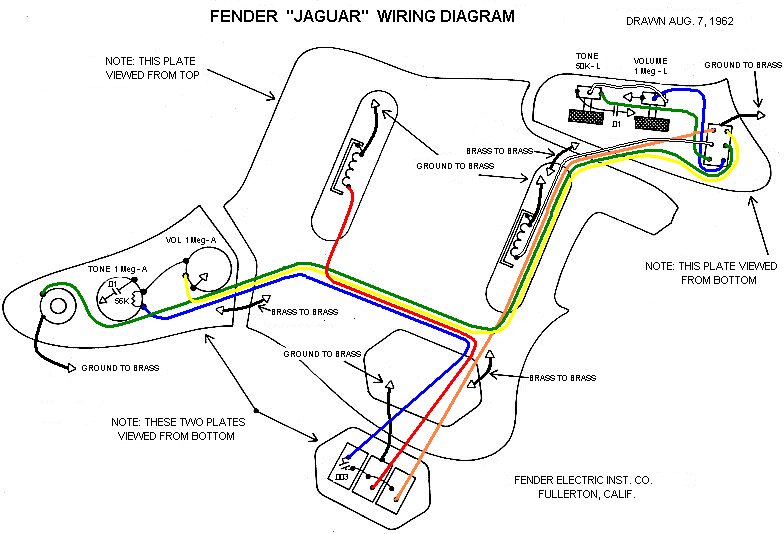 |
|---|
| Original wiring diagram |
From an electrical perspective the Jaguar is quite interesting. As far as guitars go, this circuit is quite complicated. Leo Fender originally intended for the Jaguar to be the top-of-the-line guitar for his product line. The Jaguar was designed with dual circuits for lead and rhythm. The idea here is to allow for the user to have two separate tones that can be dialled in on their own dedicated controls, which the player can readily change between with the flip of a switch. The rhythm circuit is connected to the neck pickup only for bassy, warmer tones and is controlled by the switch and two thumbwheels on the upper control plate. The lead circuit switches are housed in a plate on the pick guard. It contains on-off switches for each pickup, and the so-called “strangle switch” which cuts bass from the signal via a capacitor. This is in contrast to how capacitors are usually used to control tone on a guitar. Typically they are attached to the tone pot, where as the resistance changes as the wiper is swept, high frequency content runs through the capacitor and to ground, making the main output signal sound darker. This switch also contributes to the unique and recognizable sound of this guitar - having lots of attach but somewhat thin and low sustain. Other factors at play here are the low scale length (24” from nut to bridge, where most other common guitars use 25.5” or 24.75”) and low break angle for the bridge. A low break angle makes the strings less rigidly held against the bridge saddles, reducing sustain. Other notable features for the electronics include brass shielding plates, and shielding “claws” for the pickups that come as standard hardware to reduce the noise and the 60-cycle hum caused by AC power through single coil pickups.
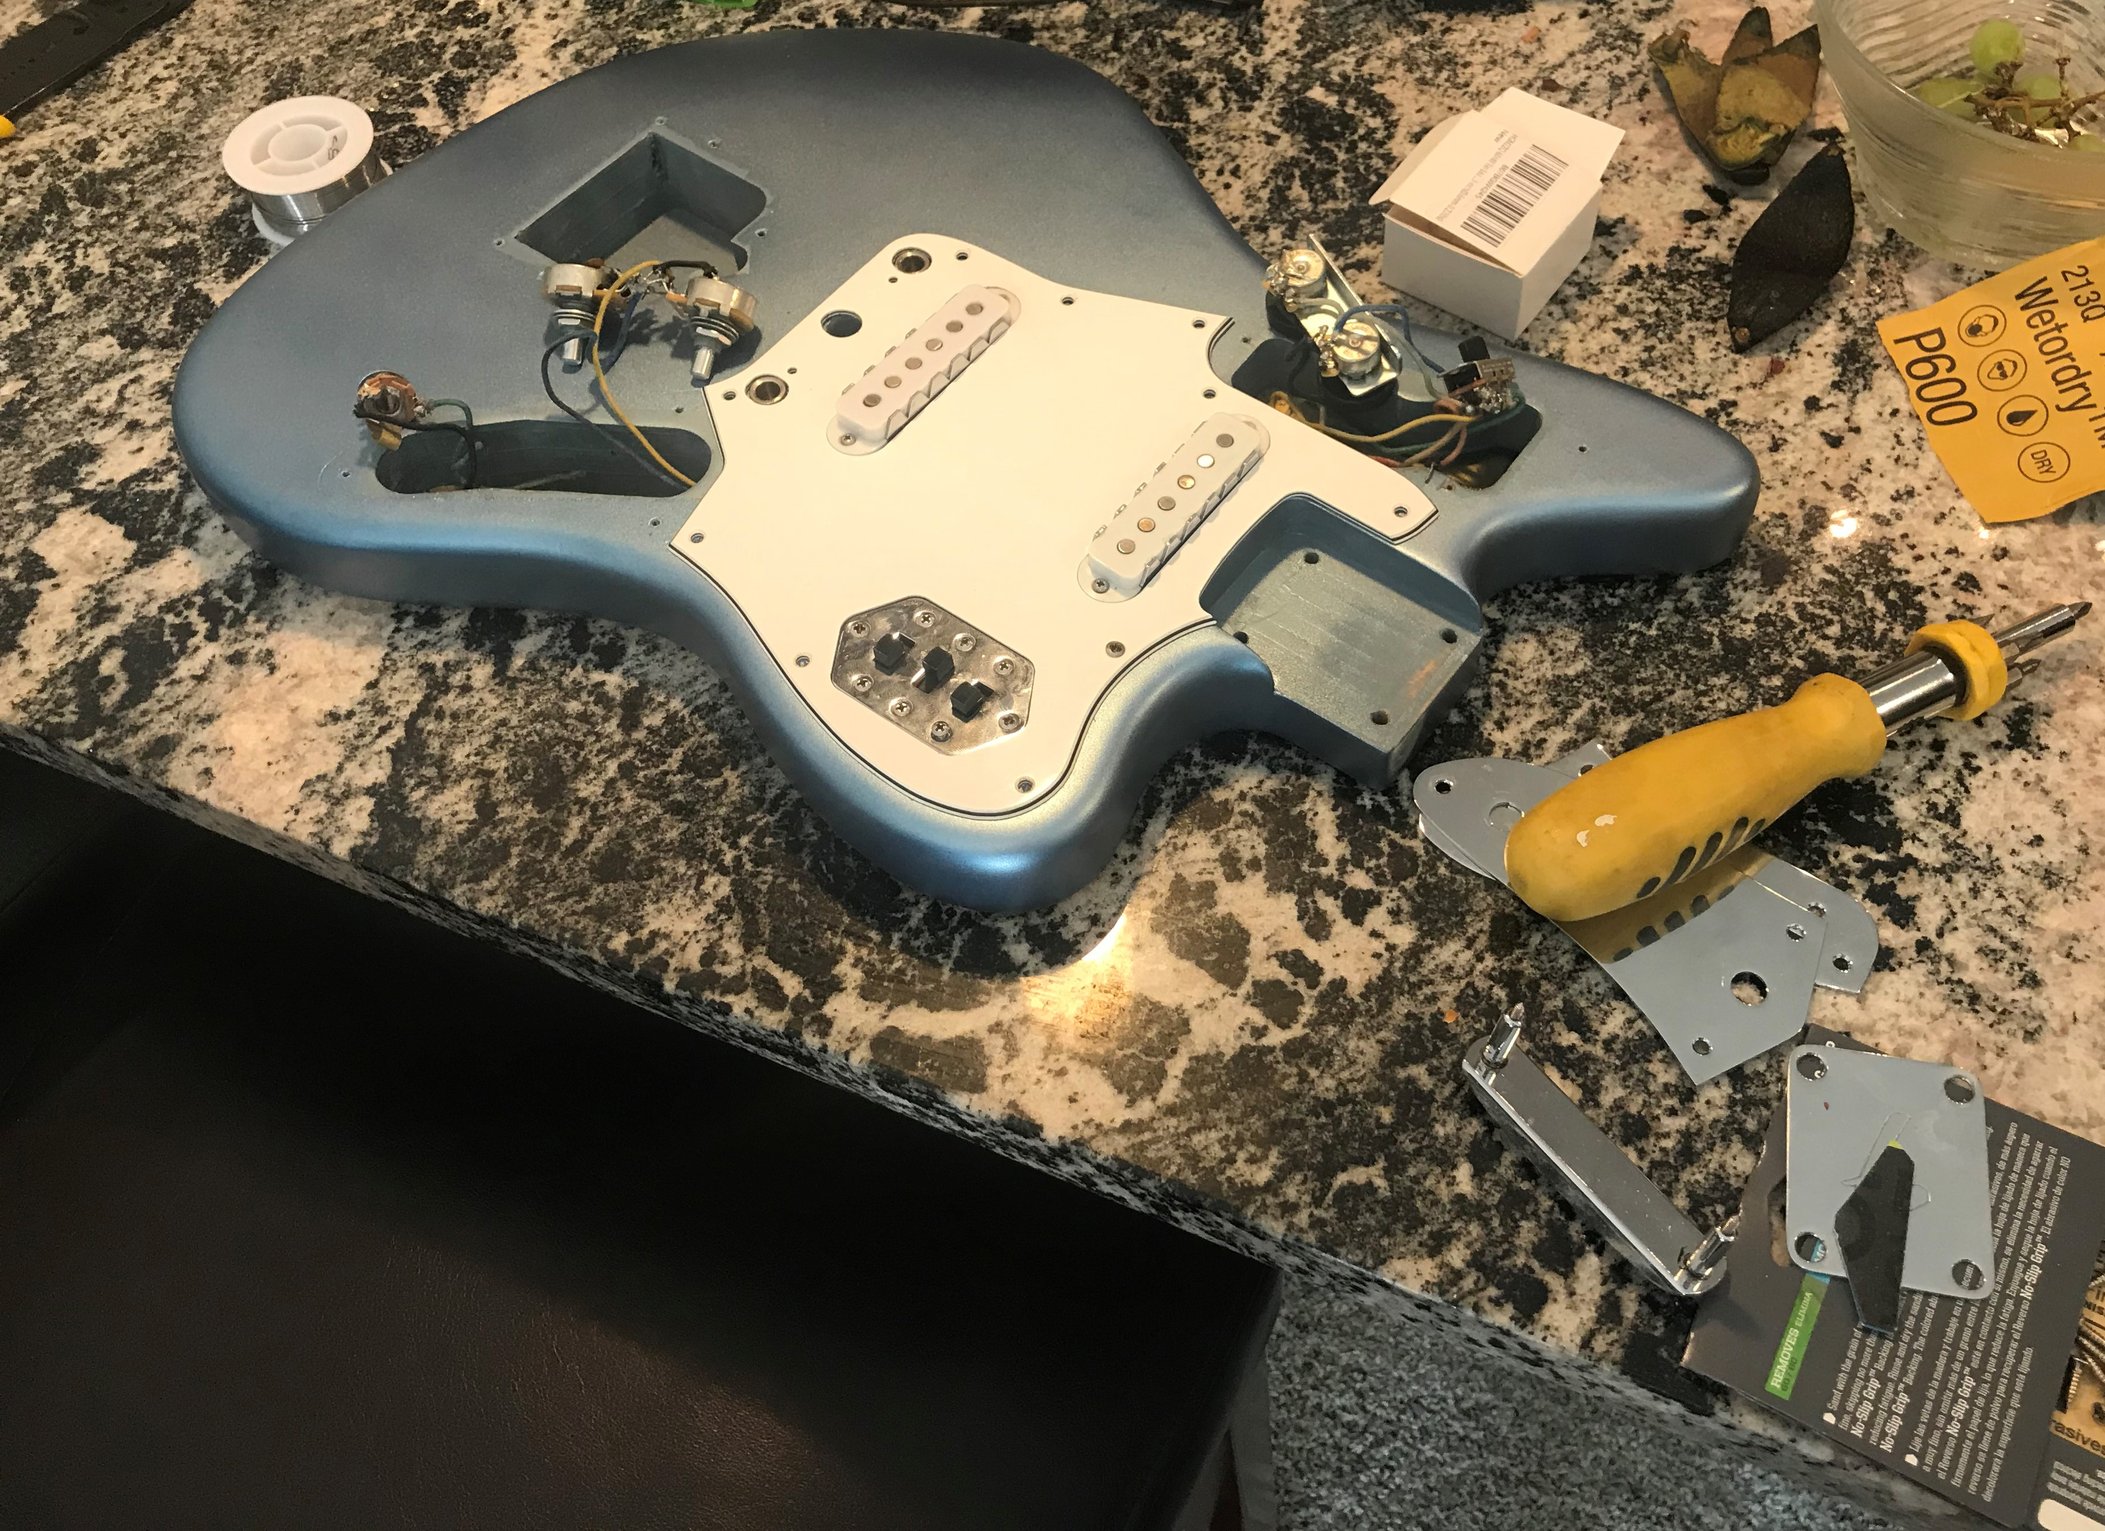
Overall the build was a success. I ordered parts during summer of 2014 and did the build through September 2014. I played the guitar for some high school stage band performances and still have it today. I have made some improvements since the original build. I found a vintage Fender neck from 1968 with some ugly old paint job which I bought for the shockingly low price of $150 (this is cheap for any neck, but 1960’s Fender parts generally sell for many times more than modern reproductions).
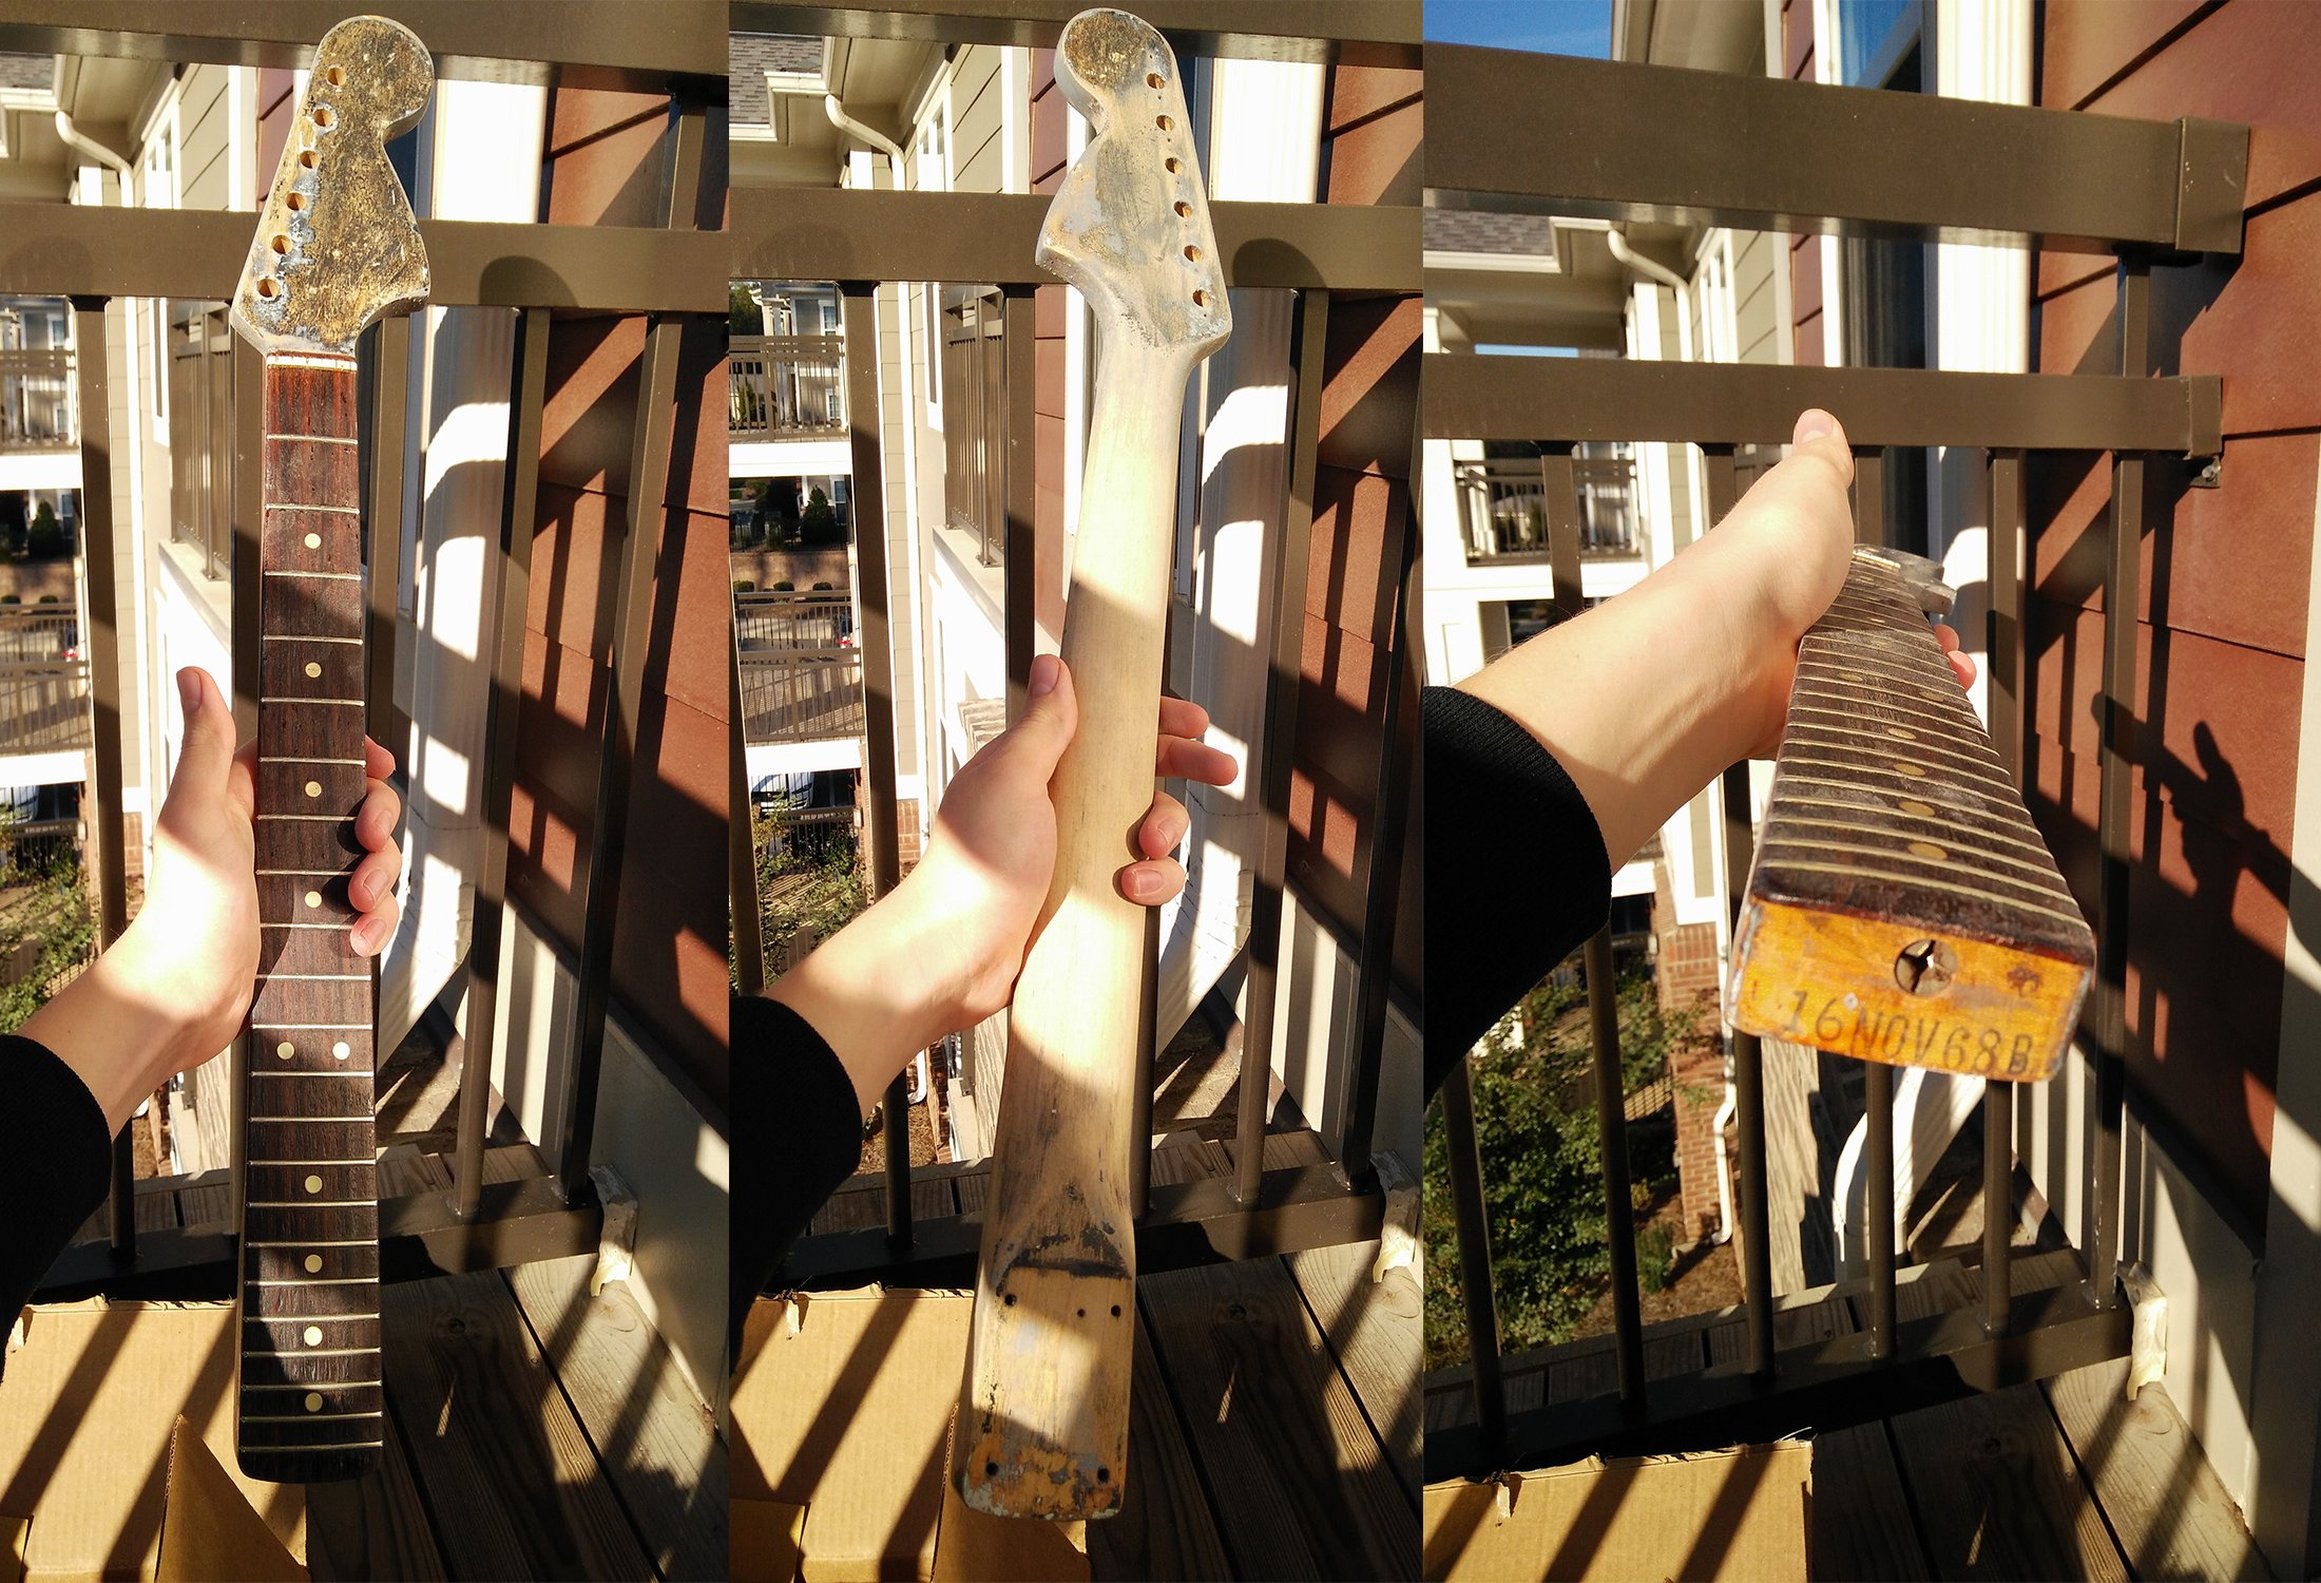 Vintage neck as received
With some very careful sanding, and scraping off clearcoat from the fretboard with an x-acto knife, I was able to remove all the old finish with minimal removal of the original wood. I’ve also replaced the bridge with a real Fender Mustang bridge from the 60’s, made a wiring modification to add a setting for both pickups in series, and sprayed a new paint job on the body and vintage neck.
