How to Add Bluetooth to a Pontiac Monsoon Radio
#article #hands-on #automotive #electrical #audio-music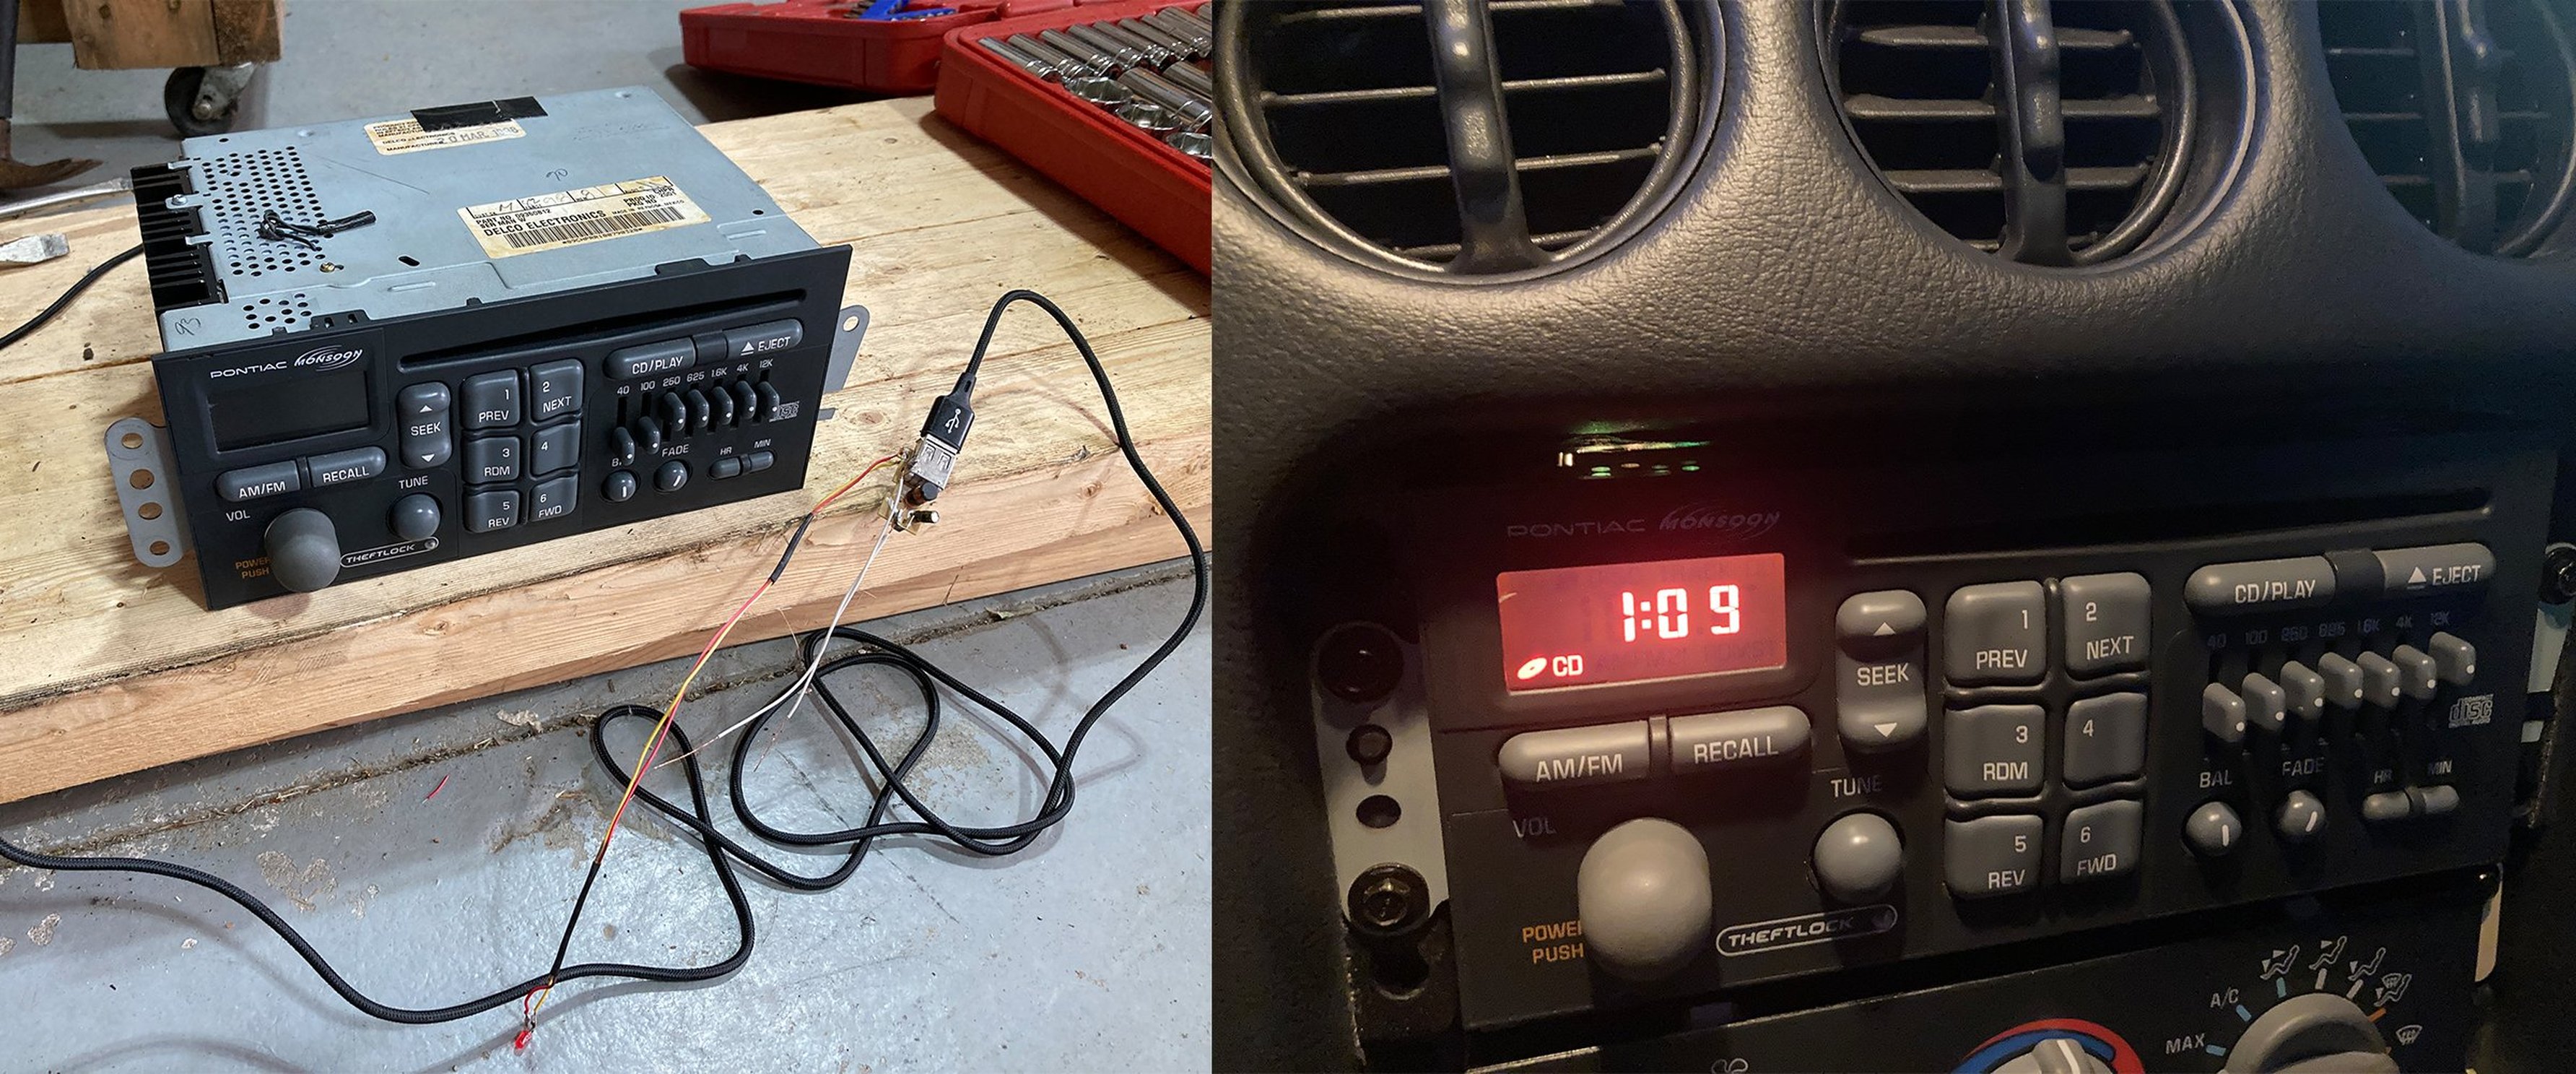
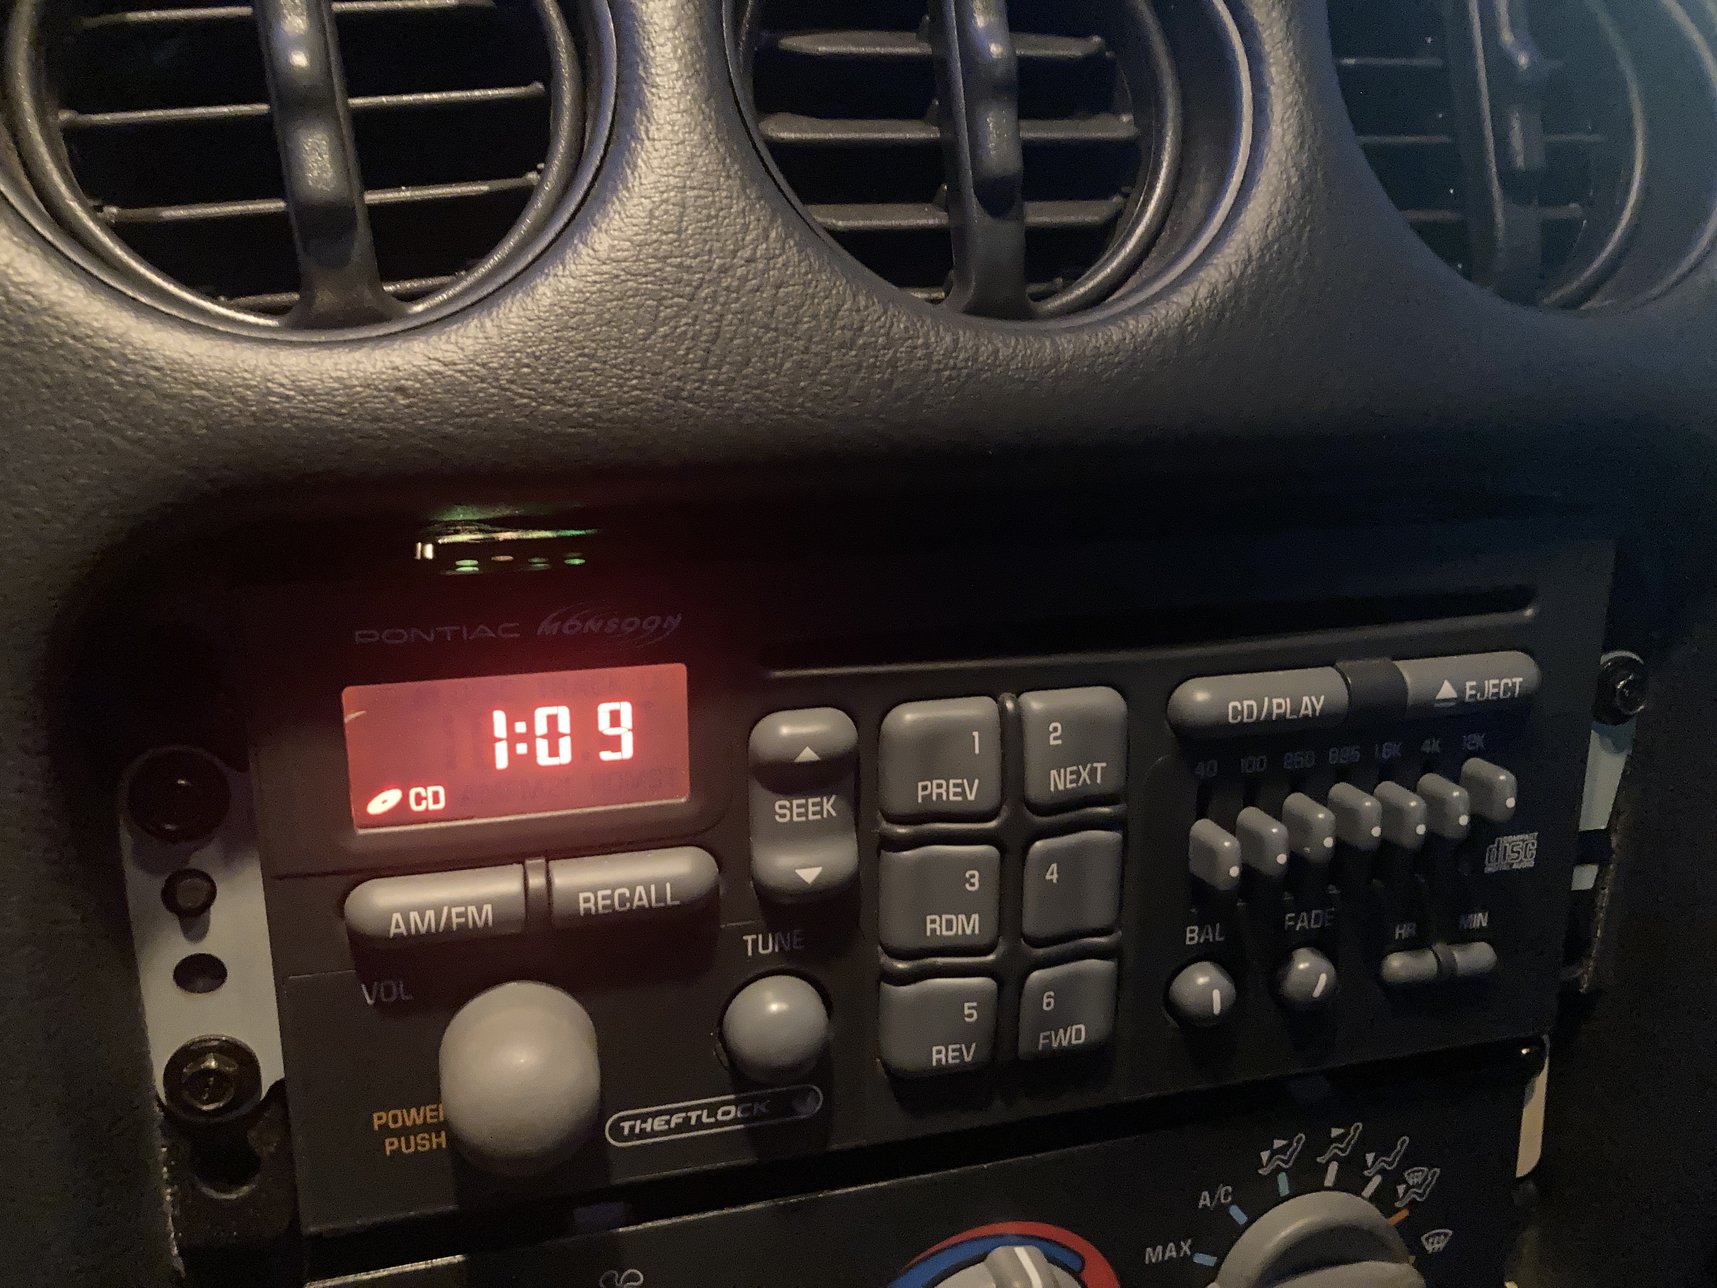
This details how to add a bluetooth transmitter to a Pontiac AC Delco Monsoon radio for a 1998 Pontiac Trans Am. The same process may be applicable for other Trans Ams and Camaros of similar year. The total cost will be around $40. The idea of this install is to add bluetooth to the car while keeping the look and functionality of the original radio.

| # | Parts List |
|---|---|
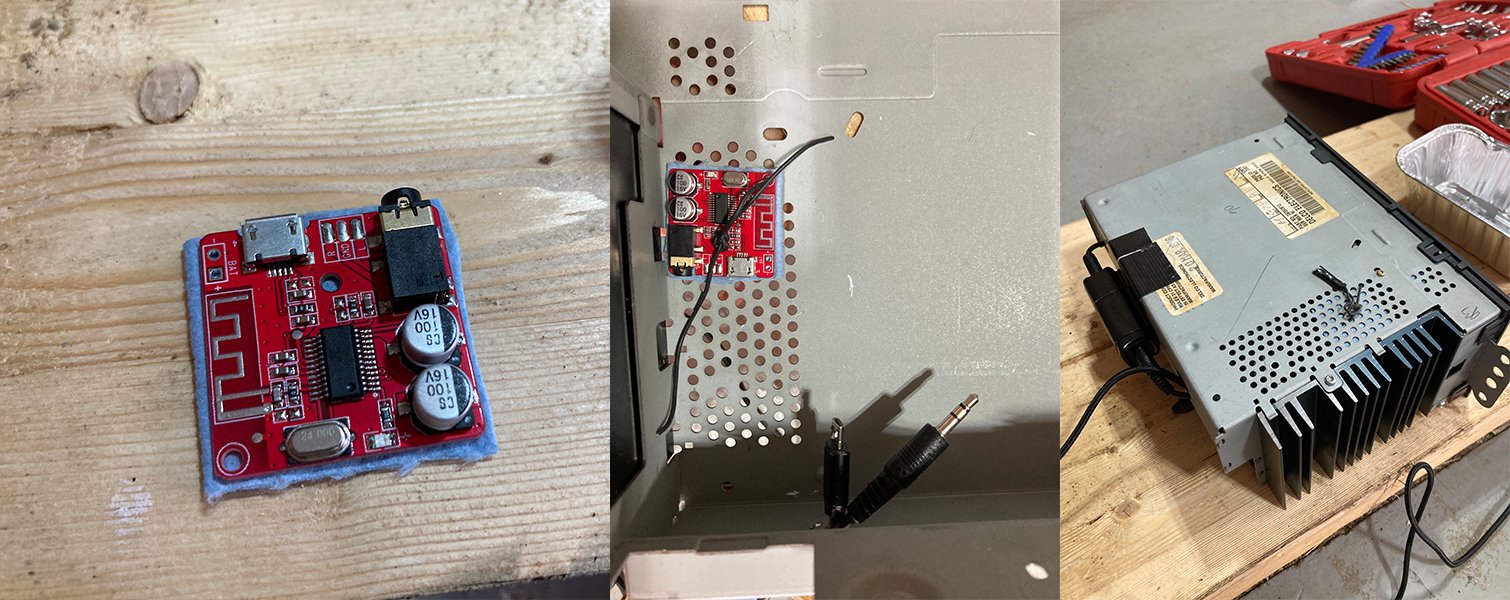
| 1 | Bluetooth 5V Receiver Board |
| 2 | Small Aux Cord - 3.5 mm to 3.5mm |
| 3 | Ground Loop Isolator |
| 4 | Small Aux Cord - 3.5 mm to bare wires |
| 5 | USB to Micro-USB Cable |
| 6 | USB Car Charger |
The receiver board makes the bluetooth connection and transmits the audio to the CD player audio inputs, through the ground loop isolator and auxilary cords. To run the board requires a 5V power source or 3.7-5V battery. We will be powering it off the car to avoid having to recharge/replace a battery. A cheap USB car charger will be used to accomplish this is an easy pre-made circuit for converting 12V to 5V. The car charger will be taken apart and its internals will be connected to the 12V accessory power of the cigarette lighter.
Steps
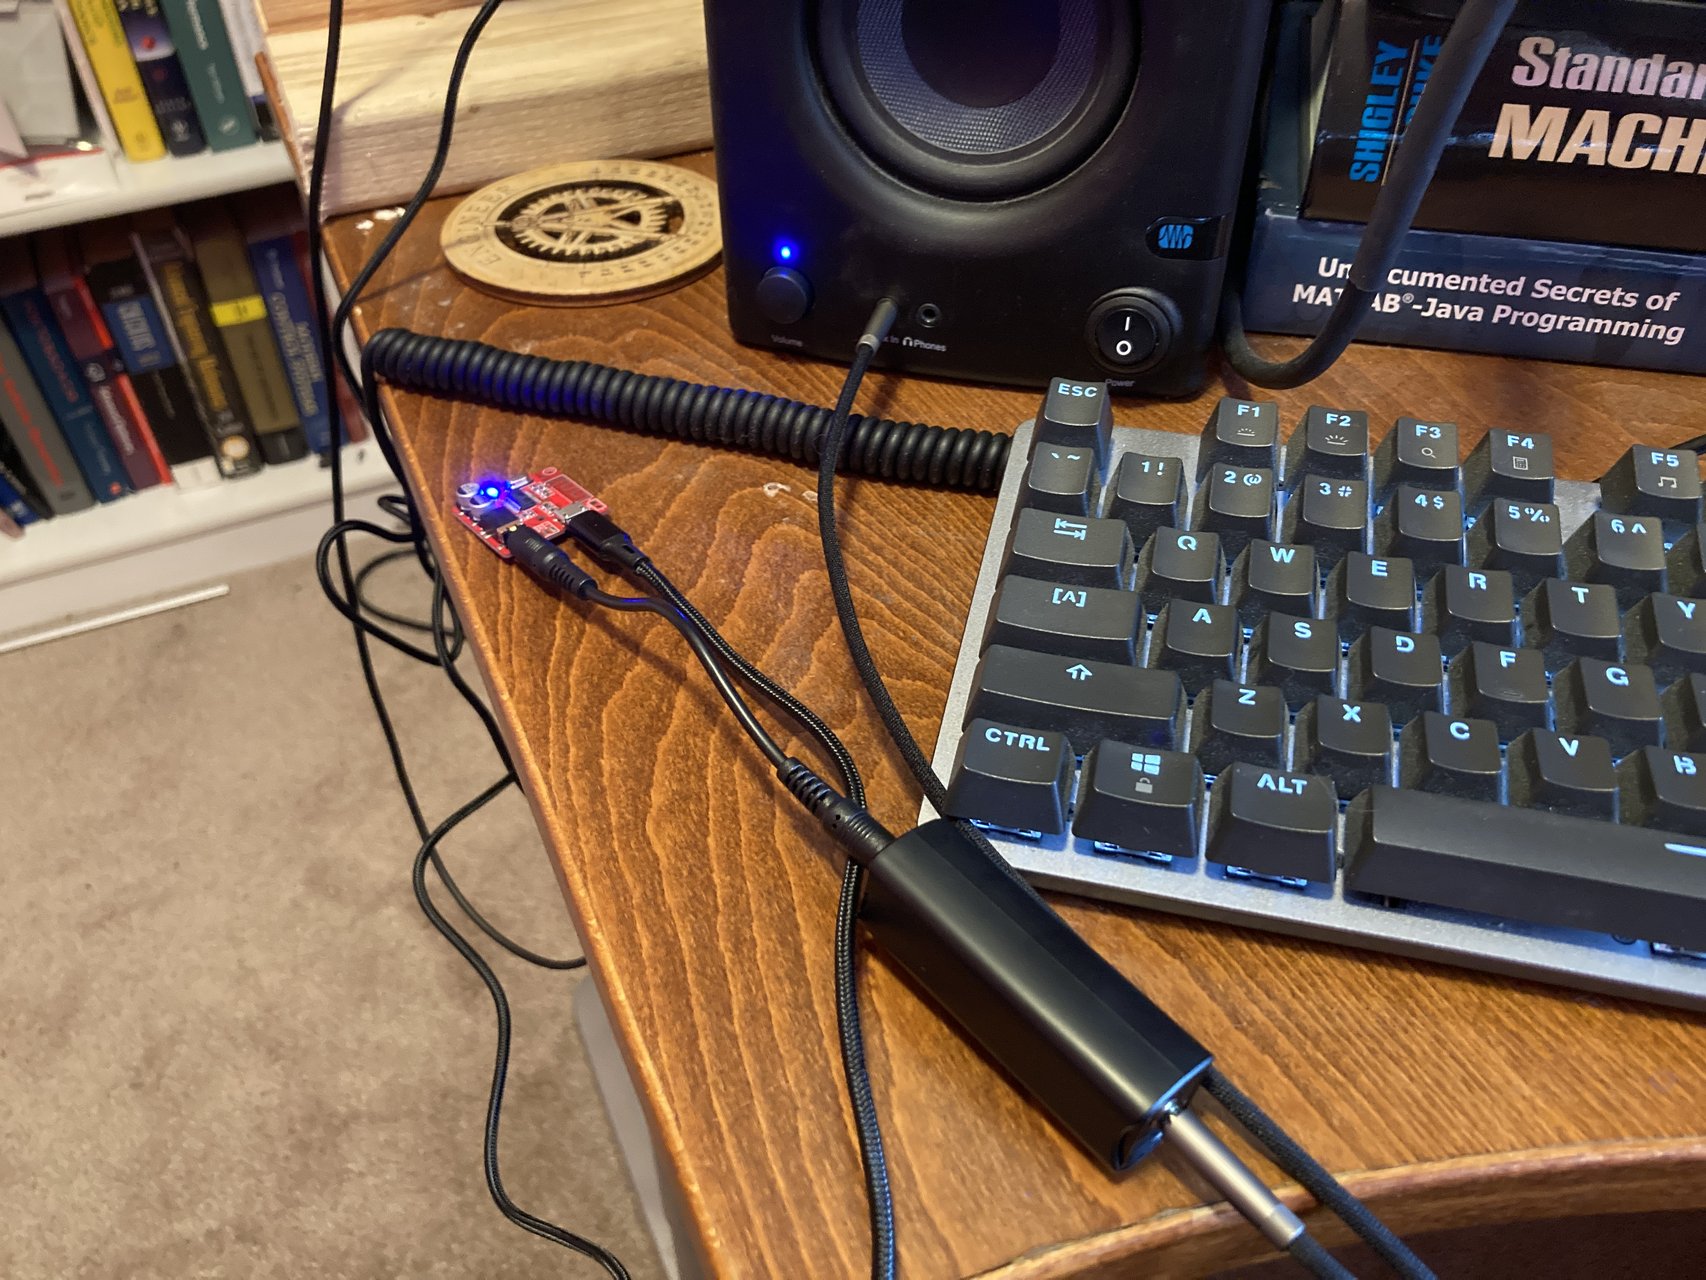
1) The board was first tested with its ground loop isolator to confirm these work as expected before doing the install. Playing sound from a computer and then from the bluetooth board little to no difference in audio quality was noticed.
2) Pop off the front plastic faceplate and remove the bolts holding in the radio. Pull out the radio and undo the connections. Disassemble the radio with torx screwdrivers, and undo the connector from the CD player to the main board.

3) Strip the outer insulation off the aux wire to get the 3 strands on their own. By testing continuity its confirmed that the red wire is the left audio channel, the white wire is the right channel, and the yellow wire is ground. On the CD player connector, there will be 14 pins with one on the end being a different color (13 red and 1 blue, or 13 white and 1 black for Camaros). Solder the red wire to the first connector pin (opposite from the blue wire) and the white wire to the third connector pin. The yellow wire can then be soldered anywhere convenient on the radio chassis for the ground. Tape off the original audio wires from the CD player that have been cut. It would also be possible to maintain the use of the CD player by wiring the bluetooth and CD player channels both to a switch or button.

4) Mount the bluetooth board on the chassis. There is room on the side with the heatsink for this. Here I layered some shop cloth underneath the board to prevent anything shorting on the chassis, and then tied it to the chassis with some low gauge wire (didn’t have any screws small enough on hand). Then run the power and aux cord out the back of the radio, either through the CD player mounting holes or drilling separate holes. Attach the ground loop isolator onto the back of the radio towards the top, so it wont interfere when re-installing the radio into the dash. Re-assemble the radio.
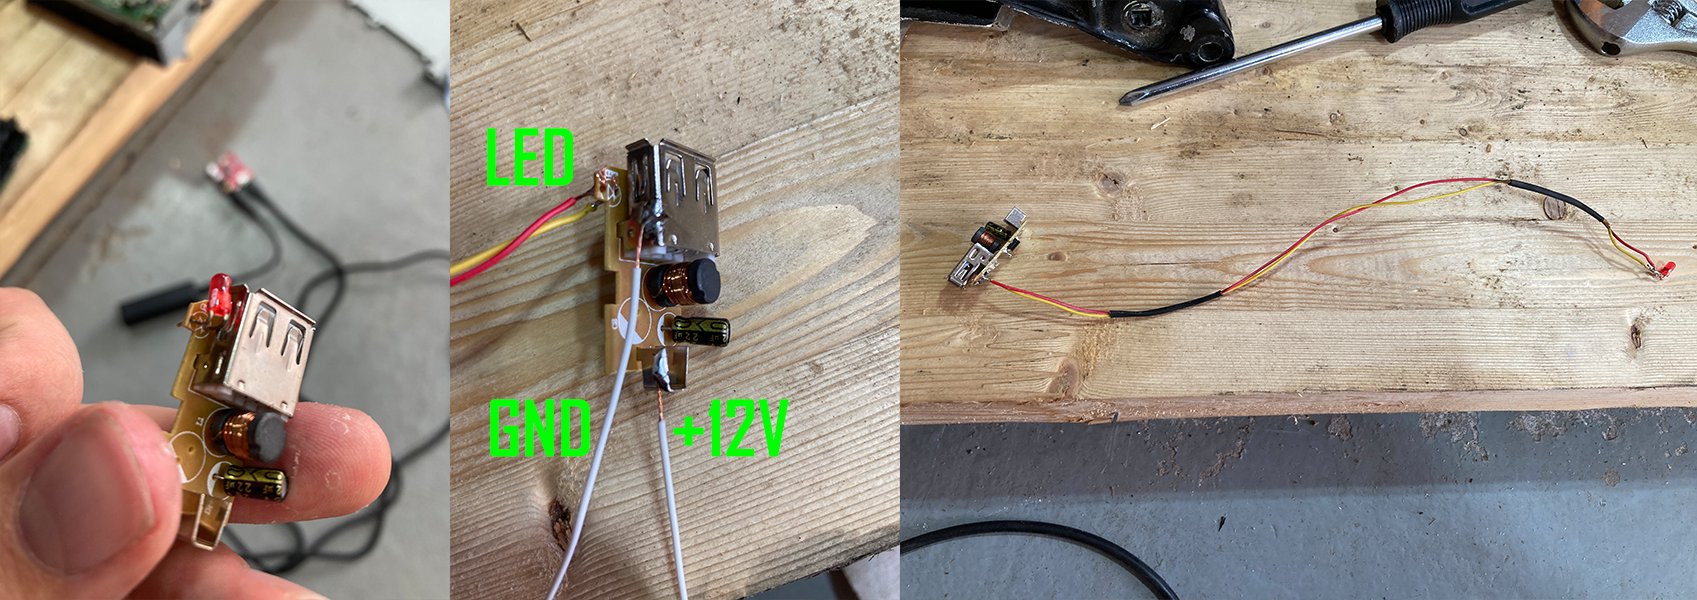
5) Pull off the casing from the car charger and solder new wires onto the positive and negative. In this case I also extended the existing LED to use as a gear indicator light under the shifter because the car doesn’t come with one originally.
6) Remove the traction control panel and strip the wires on the 12V accessory/cigarette lighter for a T-splice. Solder the car chargers new wires in and tape them up. Secure the car charger down (here wrapped it in shop cloth and taped it down). Feed the power cable down from the radio and plug it into the USB port.

7) Reinstall the radio and faceplate. Turn the radio on in CD mode (with a CD inside), connect with bluetooth to the board, and play audio!